top of page

Lim Choon Wah, Reeve
Architecture E-Portfolio
COMPUTER APPLICATION
Project 1: Modeling of An Architectural Design
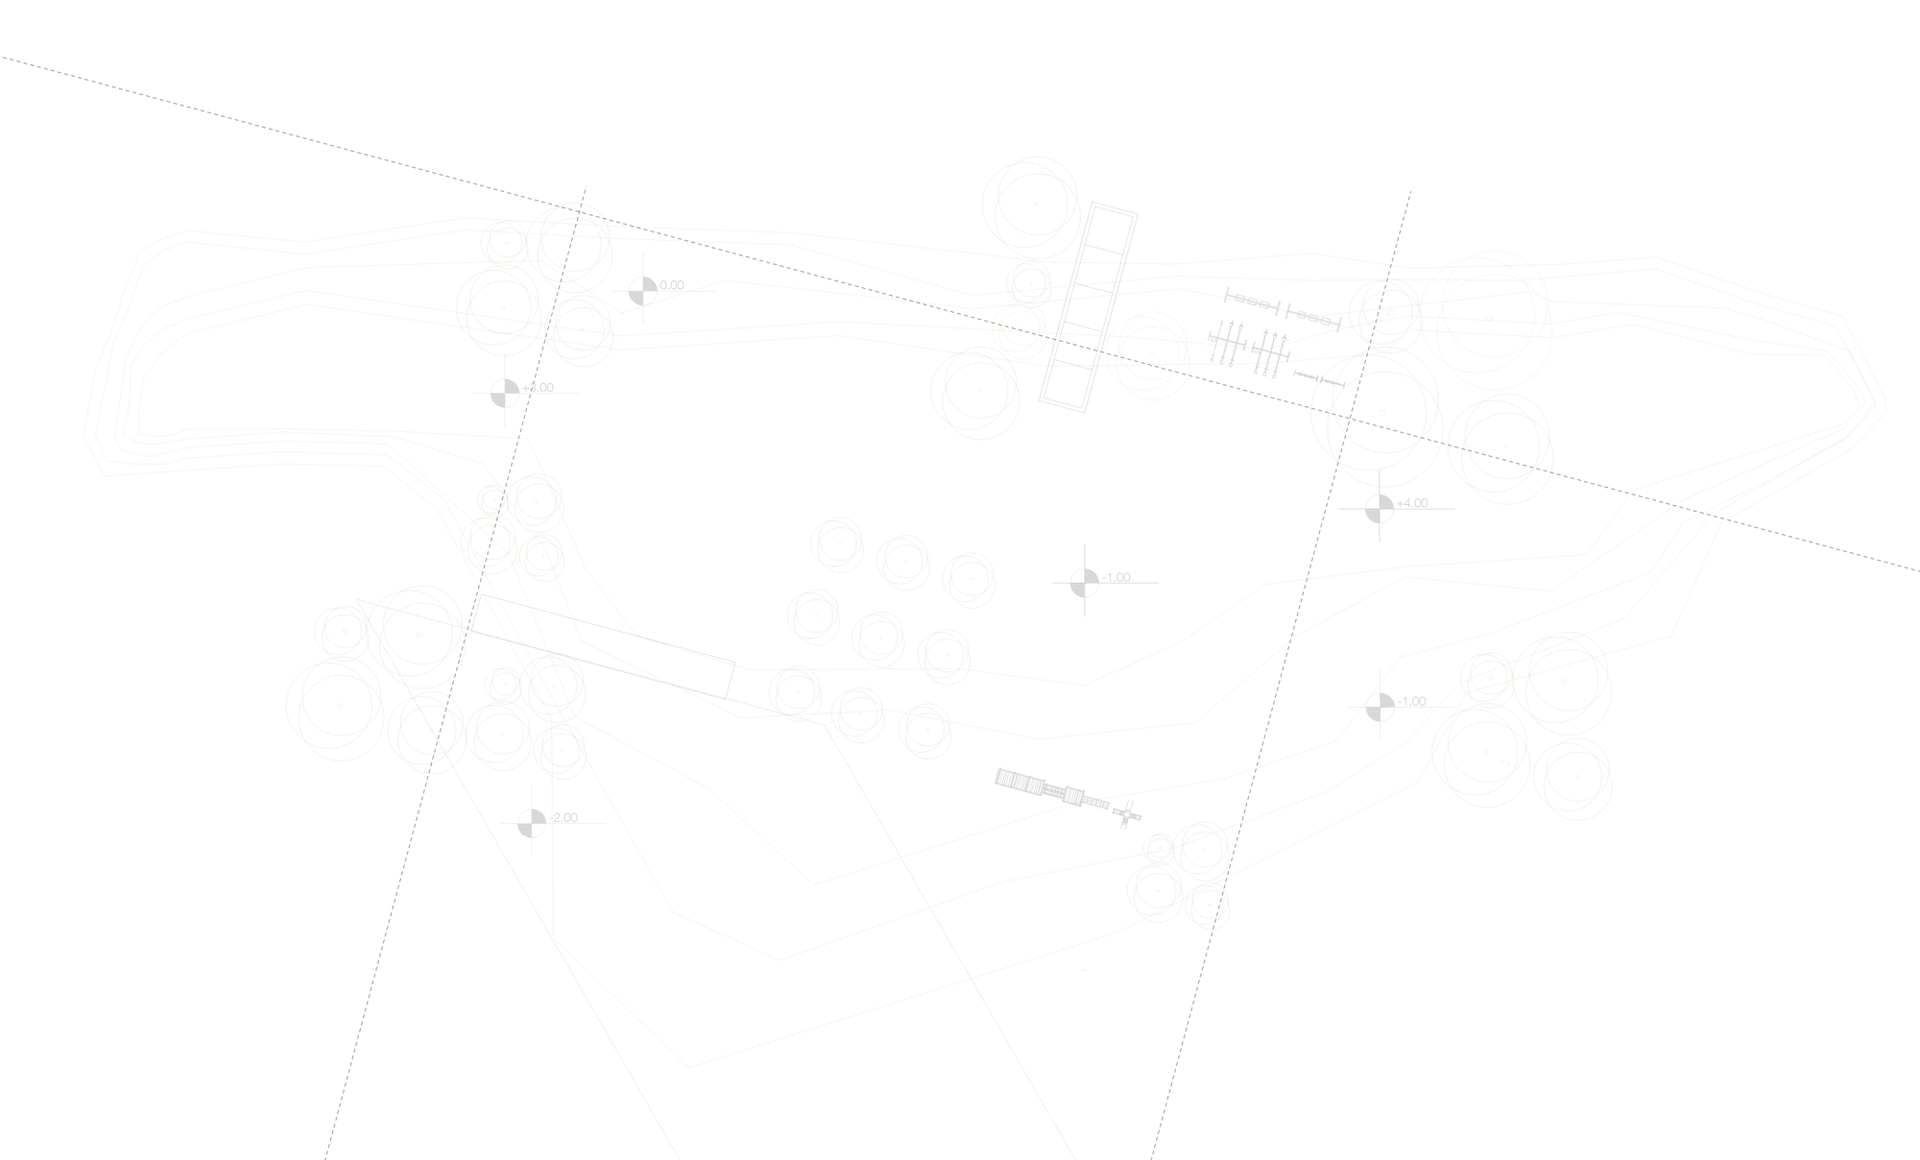
I using back my studio 2 final assignment to model. The building was located at the forest of Paddock, Bukit Fraser. From this completed 3d model I had gain more knowledge of using the 3ds max to create 3d geometries include curve.
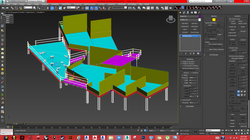
 Left PerspectiveShowing how the space and interior works. Many tiny object was bird feeding. |  Back PerspectiveShowing staircase link up to the upper deck roof. |  Right PerspectiveShowing how the space and interior works with tree-shapes column and custom organic furnitures. |
|---|---|---|
 Back PerspectiveShowing the pattern window |  Bottom Perspective.pngShowing the transparent roof glass and the details of round beam and rectangle beam. |
5 Different Perspective View
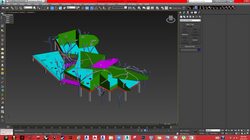
Work In Progress
3DS Max Design Modeling File.
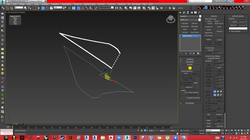
 1Draw line to create floor plan |  2Create column by extrude from H-shapes splines. |  3Creating beams to support ground floor |
|---|---|---|
 5Quick slice the beam. | 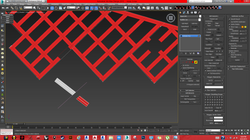 5Separated the extra beam | 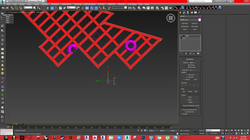 6Create round beam by using lathe. |
 7After use the lathe. The round beam had been create. |  8Use the spline convert to editable poly to create surface. | 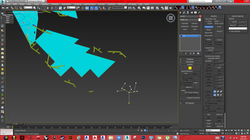 9Creating Tree-Shaped Column by using spline |
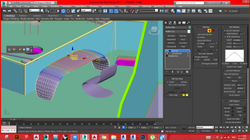
 10Applied radical rending. |  11Create wall by using spline extrude. | 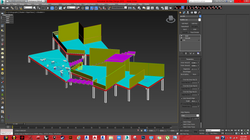 12Creating three staircases |
 13Creating railing by using spline radical rendering. |  14Create another railing for top deck. |  15creating cylinder |
 16Creating the cylinder and place on round beam and rectangle beam |  17Than use boolean to subtract so that tree can penetrate though the hole. | 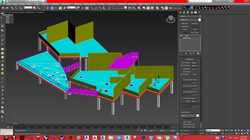 18Use sell to add floor slab thickness |
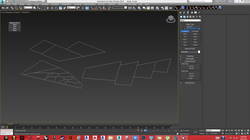
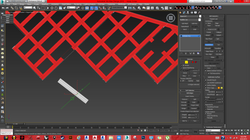
 19Create roof by using splines |  20convert to editable poly and cut into grid by using quick slice. |  21Using soft selection under editable poly to create curve roof by adjusting the falloff. |
 22Same method as step 21. But using rotate selection to bend the organic roof. |  23Create spline to create transparent glass roof and hole for the tree to penetrate through. | 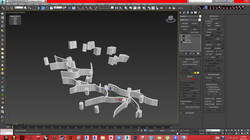 24Convert to edit poly and shell. |
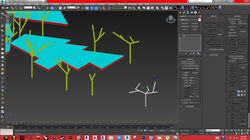
 25Boolean the organic roof to create transparent glass roof and hole for the tree |  26The transparent glass roof and hole had been successfully boolean. | 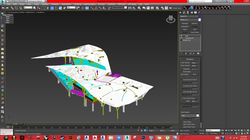 27The organic roof had place on the building. |
 28Use boolean to subtract the extra wall and extra tree-shapes column. | 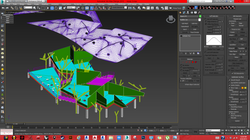 29The wall had been subtract but some cant bee cut. so need manual delete it. |  30Create the shape for transparent roof glass. |
 31transparent roof glass had been create. | 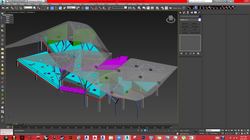 32Showing the between of organic roof and the other parts of building. | 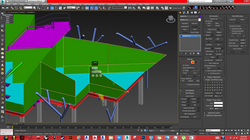 33Using inset to create mullion for the window |
 34Detach the mullion and shell inner amount and outer amount |  35All mullion had been created by shell and inset. |  36Create pattern window by using quick slice |
 37The pattern window had been form. | 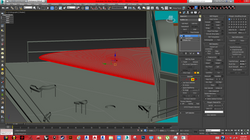 38Using the new method call open subdivide (3ds max design 2015 extension 1) by playing around the crease and weight. |  39Design custom chair by using turbo smooth, shell, taper, and editable poly |
 40Design custom table by using turbo smooth, shell, soft, and editable poly |  41displace an image onto the plane to trace the contour lines of the site |  42Using smooth line to create contour lines |
 43Few contour lines been create |  44Readjust the vertex by belzier . |  45Adjust the height level by using soft. |
 46The terrain had been create in various level. |  47Showing the contour of the site |  48Showing the contour with shaded and edge faces. |
 49Showing the contour in transparent in top view. |  50Showing the contour in transparent in perspective view. |  51Showing the building with contour. Finish |
bottom of page